
Create a new model from scratch
Dynamically generate forward-engineering scripts and documentation with just a few mouse clicks.
When starting a new project, the database model is at the core of your application. With Hackolade, you can get started in no time! With just a few mouse clicks, you can generate sample documents, MongoDB collection or DynamoDB table creation scripts, and HTML or PDF documentation. In an Agile approach, you can engage in a meaningful dialog between analysts, designers, architects, developers and DBAs, playing what-if scenarios. It increases your chances to deliver an evolving application that responds to your customer's needs.
While a real-life model creation process will not be as linear as the flow below, the list below provides a useful checklist:
- Create a new model
- Fill in model properties
- Create a collection
- Fill in collection properties
- Create a collection attribute
- Fill in attribute properties
- Iterate steps 5 and 6 to create all attributes in collection
- Iterate steps 3 through 6 to create all collections in the database
- Create relationships between collection fields
- Save the model
1. Create a new model
There are 4 ways to create a new model:
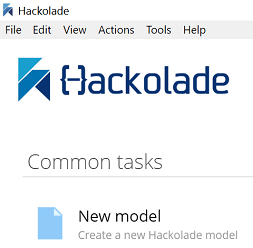
- from the Welcome Screen, choose the New model option:
- or click File > New Model
- or press the shortcut Ctrl+N
- of click on the New model icon  in the Toolbar
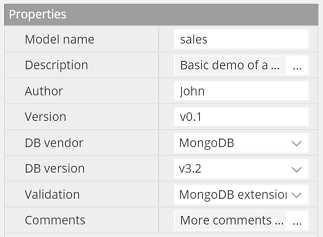
2. Fill in model properties
You start by filling the name for your new model, and the rest of the relevant information in the details tab of properties pane.
At this stage, you may ignore the Relationships tab, and come back to it later.
You may maintain user credentials at the DB-level in the Users tab of the properties pane:

To add a new user, press the  sign to add a new user and check the appropriate rights. To remove a user, press the X
  .
.
3. Create a collection
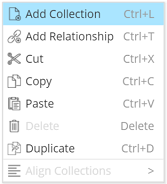
There are 4 ways to create a new collection:
- from the menu, choose Actions > Add Collection
- press the shortcut Ctrl+L
- from the toolbar, choose the 'add collection' button 
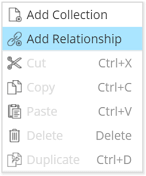
- inside the central pane, Diagram tab, right-click where you want the collection box to appear, and choose Add Collection
For more details, you may consult the Collection boxes in ER diagram page.
4. Fill in collection properties
You start by filling the name for your new collection, and the rest of the relevant information in the details tab of properties pane:

The fields Capped (and related Size and Max) plus the Validation level and action flags are used in Forward-Engineering for the generation of the MongoDB script.
5. Create a collection attribute
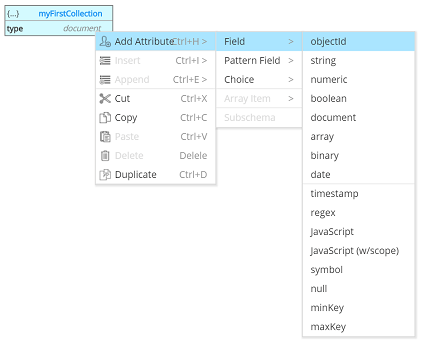
Before you add an attribute, you need to decide where it needs to be added. For the first one, it's simple: it needs to be an attribute of the tree root.
Make sure to review the page Attribute boxes in hierarchical schema view if you have any question on how to add an attribute. For example, you can add an objectId field, by right-clicking on the root box, and choosing in the cascading contextual menu as displayed below:
6. Fill in attribute properties
For example:
 or
or

7. Iterate steps 5 and 6 to create all attributes in collection
8. Iterate steps 3 through 6 to create all collections in the database
9. Create relationships between collection fields
For more details, you may consult the Relationship links in ER diagram page.